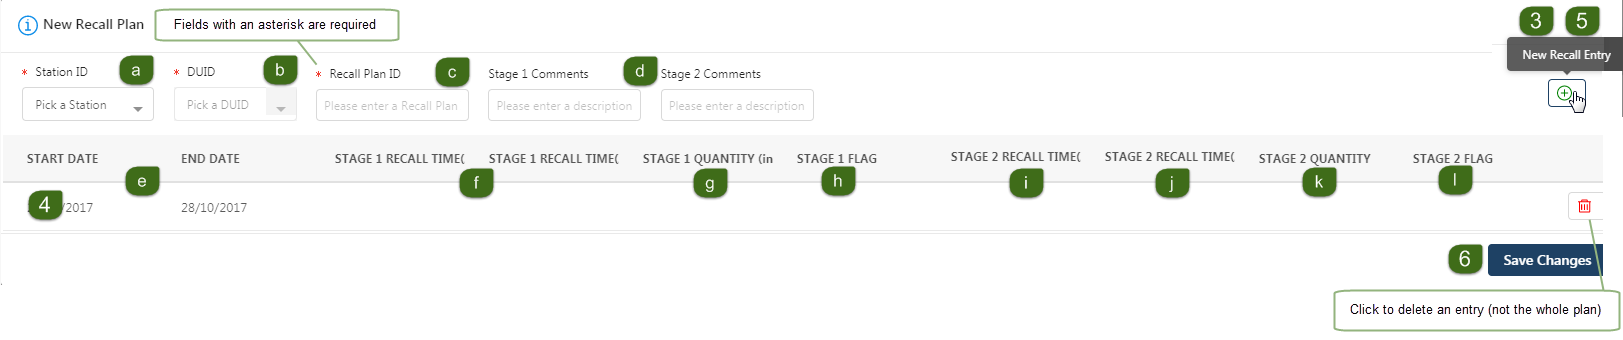
Create a new recall plan
A quick way to create a new recall plan is to clone an existing plan, see Clone an existing recall plan.
For help creating the plan, see Procedure for Submitting Generator Outage Recall Information.
To create a new recall plan:
- Login to the Markets Portal, for help, see Accessing Generator Recall.
- Click New Recall Plan. For help, see Recall plan list.

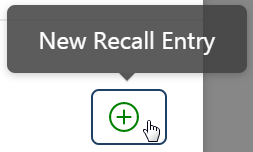
- In the right-hand corner, click New Recall Entry. If you cannot see the icon and your screen is maximised, try minimising it. For help, see Create a new recall planPage 1
- A new row appears, double-click in each field to enter the following details:
- Select a Station ID.
- Select a DUID Dispatchable Unit Identifier.
- Enter a Recall Plan ID. This is a unique alphanumeric value of your choice, from 1 to 40 characters.
- Enter any Stage 1 or Stage 2 Comments. These are your comments advising other operators of your decision process. The field is alphanumeric text up to 60 characters.
- Enter a plan Start and End Date.
- Enter a Stage 1 Recall Time (Start Date) and a Stage 1 Recall Time (End Date) in hourly increments.
- Enter a Stage 1 Quantity (in MW).
- Enter a Stage 1 Flag: Indefinite without further outage (IFO), for use if IFO does not apply (NIL).
- Enter a Stage 2 Recall Time (at Start Date).
- Enter a Stage 2 Recall Time (at End Date).
- Enter a Stage 2 Quantity (in MW).
- Enter a Stage 2 Flag: Indefinite without further outage (IFO), for use if IFO does not apply (NIL).
- A recall plan is made of 1 or more entries so, if required, continue adding rows.
- Click Save Changes.
All stage 1 fields are mandatory.
Specify a recall time to apply to a DUID for a range of days. You do not need to enter the same value separately for each day of the outage. For example: If for a 20-day outage recall, Day 1 is 10 days and remains at that level through to Day 10 but then reduces steadily for the remainder of the outage, then you can specify recall times at Day 1, Day 10, and Day 20.
For each day and for each DUID, you can specify up to two separate recall times with corresponding improvements in availability.
Stage 2 fields are optional unless you are specifying 2 separate recall times, then all fields are mandatory.
To delete an entry (not the whole plan), click the delete icon.
If you need to make changes, see Modify an existing recall plan.
Figure 56 New recall plan